9X9X25 Quotes on Fancy Photos Guide

It’s up to all of us, in each of our unique corners and niches to be talking about citizenship topics, especially about digital citizenship topics. ~ Helen DeWaard Photo: timelasped photo of traffic across a grey bridge

This is a bonus 9x9x25 post in a guide to making a Faux Inspirational Quotes.

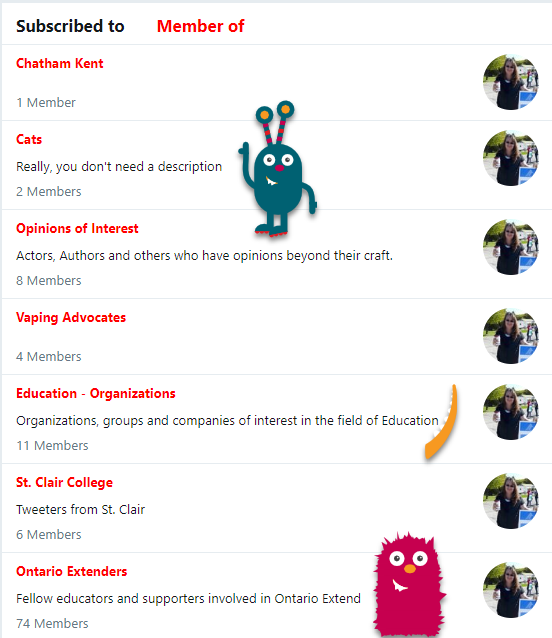
Step 1. Go to the syndicated post feed and read a bunch of entries. When you read one that resonates with you, scan it again for a quote that is enticing; it doesn’t have to be the conclusion or the main point. I look for something that meaningful that can both stand alone and invite a viewer to seek out more. This is one part of how your perspective adds value, out of all the possible quotes, you get to choose the one to highlight.

Step 2. Assemble the basics, copy the quote, find the author(s) names and Twitter tag, make an icon or brand for OntarioExtend 9x9x25. I use MSPublisher to create mine. I use a rectangle box in black as my frame and assemble the pieces using the same font (Century in bold). The quote is in 24 – 28 pt font size.

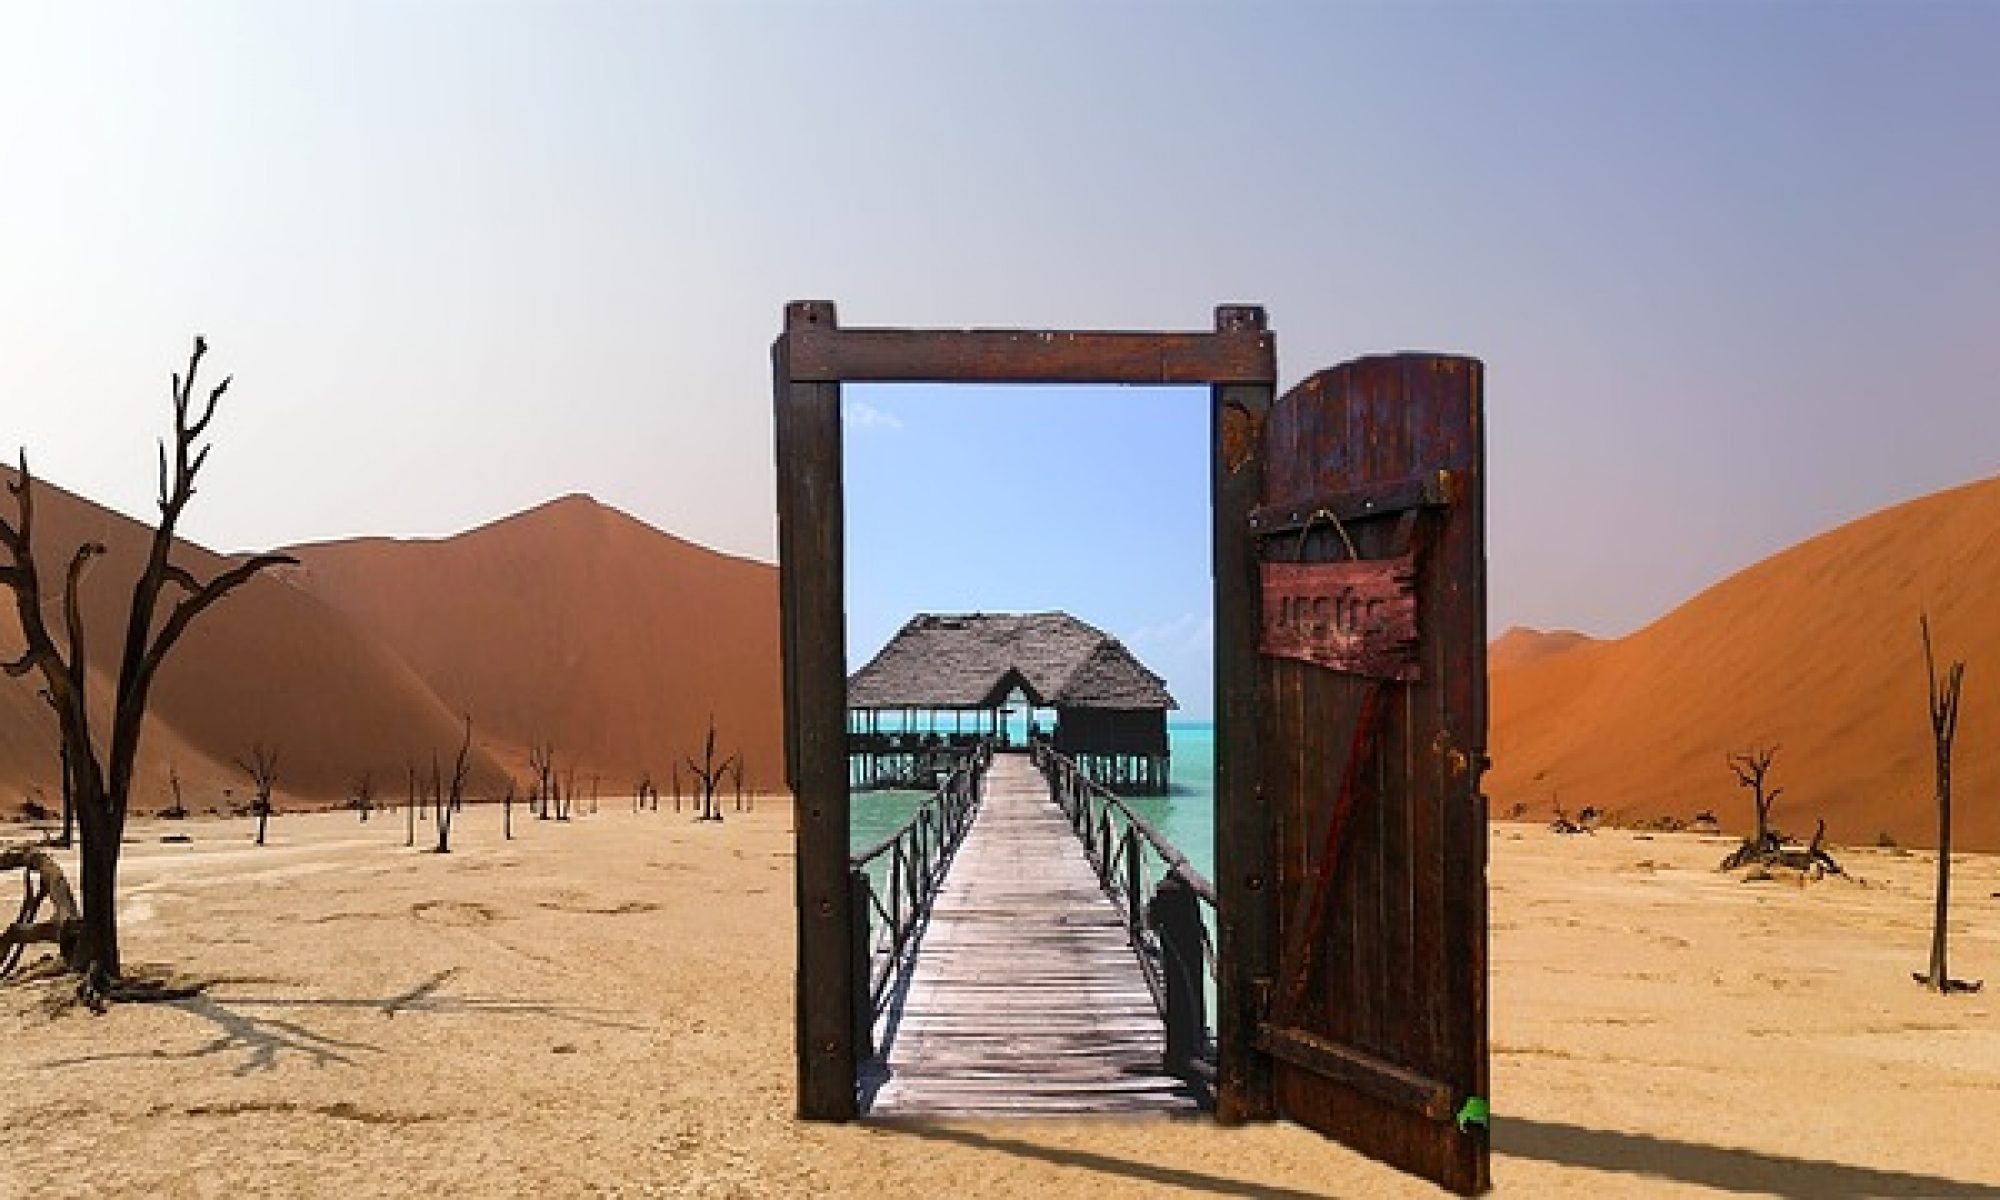
Step 3. Hang out at Unsplash (or another creative commons friendly photo sharing site) and look for a pretty photo. Here is where your imagination adds value, what photo in your mind adds to the quote? Select something that has some usable space on the edges for the quote to be added that is of the same color with little detail so the words can be read.

large moon in the sky above a hill
Photo by Andrea Reiman on Unsplash

Or Format Text Box to add a Fill with a similar color as the background and set to a high rate (70% or more) of transparency to improve text readability.

Fall leafs in the sunlight
Photo by Timothy Eberly on Unsplash

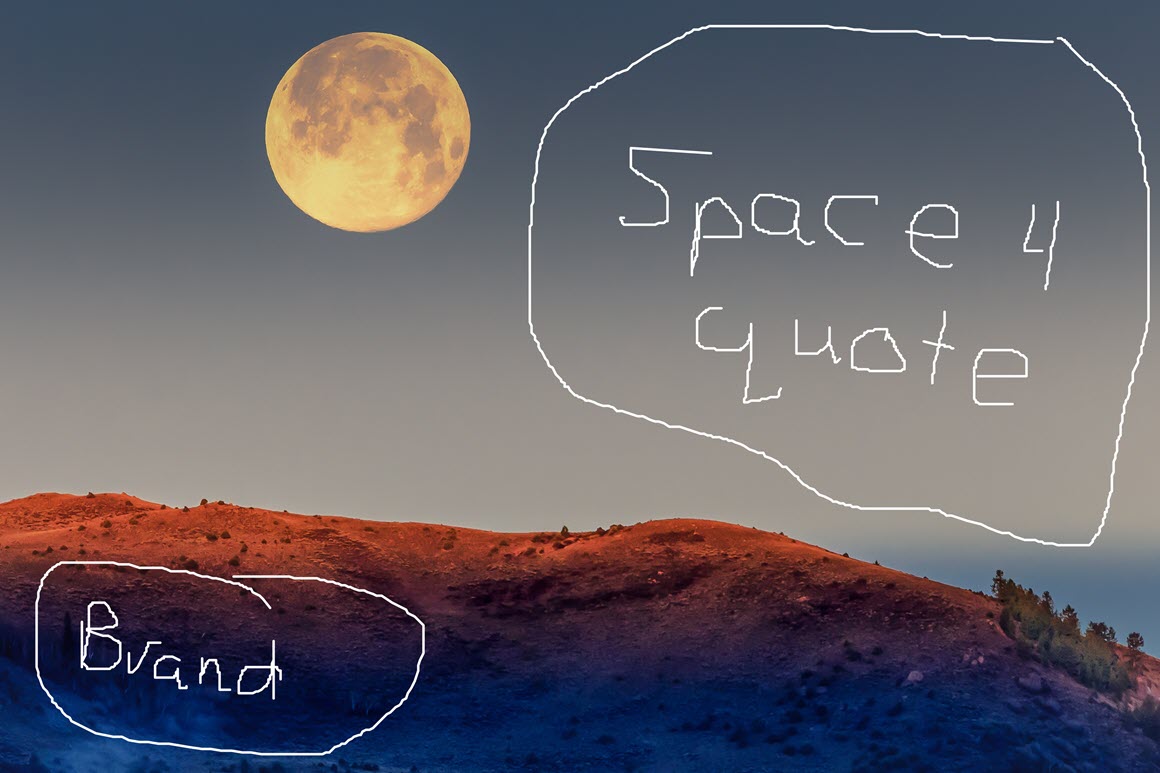
Step 4: Mess around with the placement of the quote and the brand and try different justifications of the text until it looks pretty and balanced. I am not sure how to describe balanced, but at some point, it just looks right. Don’t forget to add an attribution to the photographer. I add the Unsplash attribution in white 10pt font, usually in one of the bottom corners.

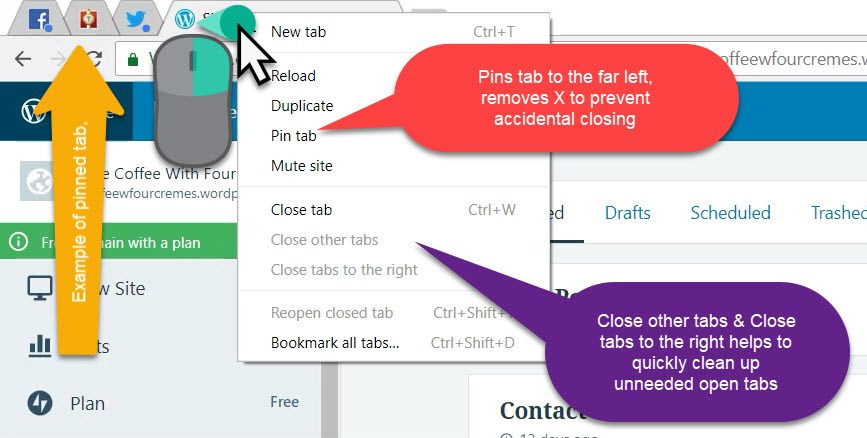
Step 5: Save as a Portable Network Graphic (PNG) or your choice of a graphic file format and open the graphic with another photo editing program such as Windows Paint to crop the white edges and scale the photo. I use Snagit Editor by Techsmith and do a quick crop and scale to 1160 pixels width and let the height calculate. 1160 pixels is a good size for the full picture to show when you share it to twitter.

Step 6: Tweet the photo to @OntarioExtend and include the hashtag #9x9x25 and tag the author of the post you took the quote from. Attach the picture and copy the quote and photo description to the description box for the alt tag. If you do not have a description box at the bottom of the photo, you will need to turn on this option through Settings on your Twitter account. A considerate alt tag includes both the words shown on the graphic and a description of the photo.

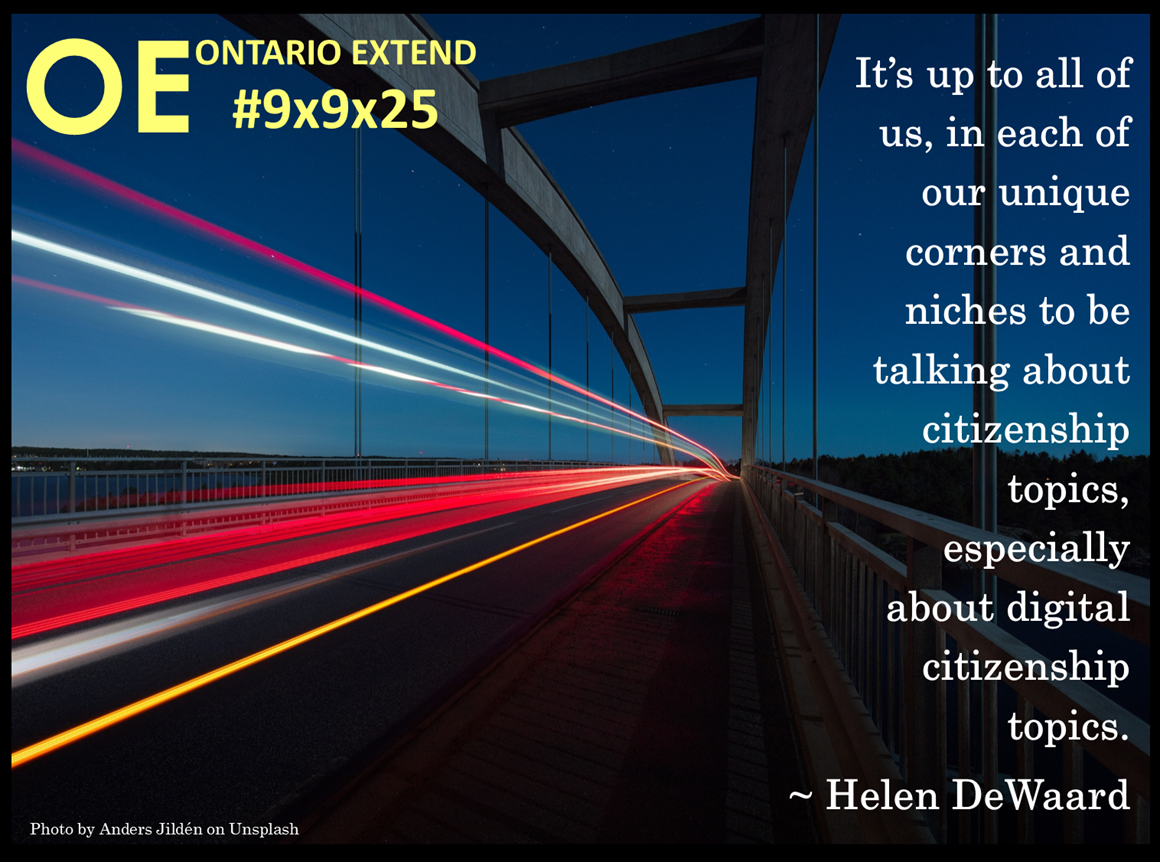
Final notes: I have weird personal reasons for the pictures I choose. For Helen DeWaard’s quote on digital citizenship, I choose a time lapsed photo of a bridge where the car tail lights were streaks because the internet is often called an information highway and data streaks past and teaching digital citizenship is like building a bridge for students. For Peg French’s warning on not becoming bedazzled by technology, I chose a photo of a single eye in glitter make up.

I hope the authors of the quote enjoy seeing my final mash-up of a photo and their quote. I think it is fascinating to see someone else’s perspective of the words I have written. Alan Levine did this for me once in a DailyExtend and I thought – Wow, I sound really smart! I hope the authors see how smart they sound to me and that others, seeing the mash-up on Twitter, will be enticed to check out some of the blog posts for themselves.


Blogging with speech-to-text software

person using a computer to play a game

Assistive technology is one way that students with disabilities can mitigate their challenges in an education system. Often what is used as assistive technology was not created specifically for students with disabilities. Speech-to-text technology was originally created as a productivity tool commonly used by executives, lawyers, doctors, etc. The most common commercial product is Dragon Naturally Speaking. Dragon can also be used by people who have low vision or who are blind.

As voice recognition software improves, new applications are released. I am using a free online application that uses Google voice recognition technology to write this blog post for the nine by nine by twenty-five challenge. You can try it out for yourself as long as you have a microphone. I would recommend using a headset with a microphone for better accuracy.

Having used Dragon Naturally Speaking for several years and completed various training sessions to help Dragon understand my speech I am surprised that no training was required with this software. So far, it has missed only one word and my only other complaint is the extra space before the period and the lack of capitals on the first word of sentences that I will need to fix. I am an excellent typist. I can type over 80 words per minute but with Dragon or other speech-to-text technology I can produce content as fast as I can speak, and I can speak very fast.

Some students with learning disabilities will use speech-to-text technology to produce all their written work including papers and assignments. Other students will have the speech-to-text software running in the background but will only use it for words that they can pronounce but not spell. When a student with a learning disability has difficulty with spelling they’re often not able to express their thoughts and ideas fully and will rely on simpler language that they are confident they can spell. With technology like speech-to-text. they can more fully demonstrate their knowledge and understanding using more complex language and sentence structure. From the point of view of learning outcomes, if the goal is to produce a well-written document, it should not matter to the professor if this was created by typing or using software.

There’s some other interesting ways you can use speech-to-text technology in terms of productivity. For example, I can record my voice on a tape recorder or using the computer to create an MP3 file and later run that file through Dragon to create the text. I have also used this technology after creating videos for online learning. I take the video, strip out just the audio, and run that through Dragon. It creates a text document that I can then use as a transcript and convert into closed captioning to make my video more accessible.

When using text-to-speech technology, you do have to learn some techniques order to control the formatting. And you do need to be able to speak your ideas in full thoughts and sentences which can be a little awkward at first. I take on the persona of a newscaster and try to articulate my words well so that the technology will be more accurate. I also find using this technology has helped me with removing some of the speech fillers that often come up when articulating ideas outload. Because the technology will attempt to add any Umms or Hmmms that I may have in my speech, using this technology has been a good way to remove those. I also find that rather than speaking one word at a time if I can use more natural phrases, the technology more accurate in its transcription.

Assistive technology is not something to be afraid of. It can be an awesome support for students with disabilities, professionals in the workplace, and even time limited professors and educators. as the technology continues to improve, I believe we will find it integrated into more software and more applications and that learning to use the software will be an advantage students in their education and later, in the workplace.

Featured photo:Photo by Sean Do on Unsplash

WordPress Permalink: Domain Camp Week 6

Dog sitting in front of a camp fire on a beach

I am wandering back to the camp fire to check out the last two weeks of Domain Camp. I had originally set my permalink to be just the name of the post but I thought I would try adding the year and the month as well. My concern is that I already have a really long URL with the subdomain of largecoffeefourcreams and my domain of procaffination.ca. So adding the dates may be too much.

I don’t know what the conventional wisdom is about the length of your domain name, and I don’t care. This is my domain. And I will have a long name if I want to! So there! Ah, one of the joys of a domain of one’s own is that you get to make choices like that.

Just a note, in an earlier Domain Camp Activity, we learned to add a URL shortener names YOURLS to our domain that would create a smaller URL for any address and it would have our own domain name as part of the new URL. I can always use that if one of my post URL becomes too long to share on social media

Featured image: Photo by christoph wesi on Unsplash

Office 365 Planner for Groups

Asking for a Friend Series – Episode 1: How can I set up and use a Planner group in Office 365.

rawpixel-574844-unsplash
Photo by rawpixel on Unsplash

This is a collection of training resources “for a friend”

Lynda.com – use your institutional log-in to access

Support.office.com – Microsoft Office Support

YouTube.com

Blog posts

So there you go friend, (you know who you are) and if you need more, let me know (you know where to find me)!

Note: Extending my curator skills by sorting through all the stuff on the internet about this topic and picking out the good ones. I learned about curation at OntarioExtend.


The Internet is for Cats

Two cats lounging indoors

Finally, a real opportunity to add more cats to the internet! In the Curator module, the Consider This activity asks me to used different search opportunities to find a picture. I am going to use two methods using four sites.

Method 1: Collections of Free to Use Photos

The first method involves using collections of usable free pictures. Here is what I found using the terms cats and cuddling on Unsplash. Out of 59 pictures I scrolled through to find this one, only 14 had cats and most, only one cat:

wayne-low-477098-unsplash

Photo by Wayne Low on Unsplash

Using the same terms on Pixabay, I found lots of cats!

cats-277116_640

Photo by pogo_mm on Pixabay

Finally, on Pexels, I found lots of cat pictures, but not a lot of cuddling. I had to scroll a long time to find one matching what I was looking for but boy, they were beautiful photos!

adorable-animal-animal-photography-1034832

Photo by Ninz from Pexels

Method 2: Google Search

For the Google search, I will begin by searching for cats and cuddles with advanced setting for free to use or share photos. Rather than just save the image. I prefer to visit the site and check that I am free to use the photo. Google can be wrong. My search took me to a photo on Wikimedia Commons.

Cuddles

By Safina dhiman [CC BY-SA 4.0 (https://creativecommons.org/licenses/by-sa/4.0)], from Wikimedia Commons

Finally, for the Google search method, I did an image search on the Featured Image for this blog post which is a photo that I took of two of my cats, Lily and Pooshka.

20180520_102627
Lily & Pooshka Photo by Irene Stewart

Here to, I changed the usage rights to filter for reuse and found this photo:

pixnio cats

Public domain photo from Pixnio

While taking my own pictures is always an option, the photos available under Creative Commons and Public Domain are certainly of a better quality. As I learn more about my options, finding appropriate photos is becoming easier.

It’s a beautiful day in the neighbourhood!

As I am growing my PLN on Twitter, I am breaking a known social convention. Just because you follow me, I am not following you back. In order to get my follow-back, you must have something worthwhile to offer me, unless you are a cat. Cats always get follow-backs.

I need there to be a reason to follow you (or your organization). You have to fit into one of my LISTS on twitter, you need to belong to a ‘hood! New people I am meeting through Ontario Extend belong in one list. These may be folks involved in #ExtendWest or folks recommended by Extenders.  That along with Education – Organizations is my Professional Development School of Awesomeness, if you will.

The St. Clair College list is my work, Vaping Advocates is my political interest and Chatham-Kent is my local news. Opinions of Interest is a group of people who are famous in some way but that is not why I am following them. Each has a different perspective on life and the world that they share that is beyond tabloid nonsense. I may be a fan of their work, but I follow them to read their ideas.

Finally, I think everyone should occasionally stop and pet the cats. Or smell the flowers, or run with dogs, or watch a sunset… a little lightness and humour give you some balance in your neighbourhood.

I want to shift out the noise and nonsense of twitter and keep it meaningful.

P.S. I used Snag-it from TechSmith to take the picture and add the monster stamps. I purchased this using their Student/Education pricing policy which was reasonable. I would recommend this tool.

How I gave up my title as the Queen of Open Tabs!

Infographic showing how to use close all tab to the right on a browser

I start out each browsing session with good intentions, and about a half hour later, I have at least 20 tabs open. I get confused trying to figure out where I was, what I am done with, and where I wanted to go next. It is a small thing but until I learned a way to gain control of my tabs, I didn’t know how much time I was actually wasting messing with my open tabs.

Peering over my shoulder one day last month, one of my students suggested I close all tabs to the right! It was an eye-opening moment. While I had seen the menu that pops up when you right-click on an open tab in a browser, I had not actually looked at the options.

New tab, Reload tab and Close tab where options I was familiar with but generally, I used other mouse clicks or key strokes to accomplish those tasks.

My favorite options are:

Pin tab – this moves the tab to the far left, makes it smaller, and removes the X that closes the tab with a mouse click. Now I can have the tabs I regularly use throughout a browsing session to the left, organized and ready, and with no X, I am unlikely to accidentally close one.

Close tabs to the right – this closes all tabs to the right of the one you have right clicked on. I used this when I am conducting a google search. I make my search, right click on the link to open the page in a new tab, review my selections and then point back to the google search page and close all the tabs to the right. When you open a link in a new tab, the browser will add that tab to the right.

Close all tabs but this one – this is one I use at the end of a browsing session when I am on the last tab I am interested in reviewing. I celebrate almost finishing  by cleaning up all the other open tabs.

I have found uses for the Duplicate tab option when online gaming and Mute site comes in handy when you open a site that automatically plays video or ads that you don’t want to hear!

Adding these options to my browsing sessions has given me more control, reduced confusion and frustration and saved time. Give it a try the next time you find you have way too many tabs open!

Bonus tip – Holding the control key and hitting the tab key on the keyboard quickly flips through all your open tabs.

This post is in response to the Daily Extend #oext167 It’s Technically a Celebration .

css.php